I’ve been having trouble with POP3 and my service provider asked me to switch to IMAP, and never having done that before, my efforts haven’t been successful. I’d appreciate a step by step explanation. Also, how do I shut down POP3 after IMAP is set up?
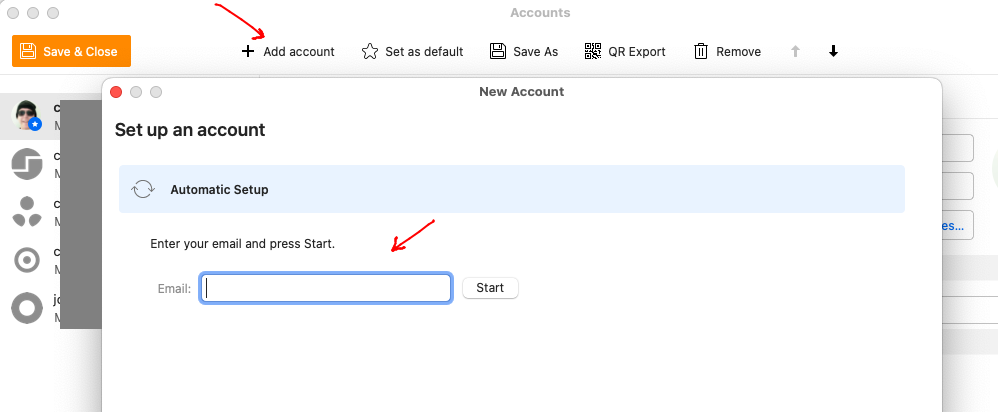
You first go to “Menu / Accounts” (Pc) or eM Client / Accounts" (Mac) and click “Add account” using either the automatic email wizard and enter your account details.
(Automatic email wizard setup example V10 Mac)
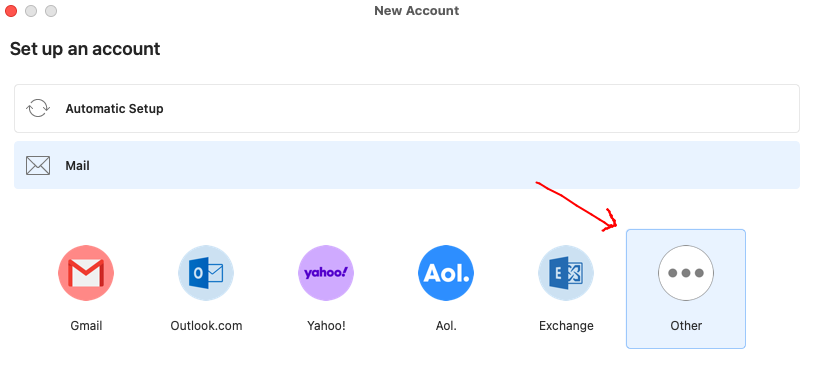
Now if your server doesn’t support the automatic IMAP wizard setup (most do), then you can also optionally manually setup your IMAP account via the “Add account / Mail / Other” option with your specific mail server IMAP details from your mail server support website.
(Manual email setup example V10 Mac)
See also the eM Client online help documentation for setting up an account automatically or manually.
Once you have added your IMAP account, then “drag / move” all your existing POP mail and mail folders to your new IMAP account folders.
After you move your message and message folders from your old POP account, eM Client will then start syncing / uploading those messages & folders to your IMAP account on the server which will then be available on all your devices once completed. You can view the uploading progress via clicking “Show Operations” in the dropdown “on the right of the Refresh button” at the top left.
Lastly once you are certain all your messages and message folders are in your IMAP account, then remove / delete your old POP account, by clicking the POP account and click “Remove” at the top.
Note: The best way i find to dbl-check that all your messages are 100% all in your IMAP account, is to go online to your webmail once completed. You should then see exactly the same online.
Note: Make a backup eM Client before removing your old POP account just incase you need to restore for any reason. “Menu / Backup” (Pc) or “File / Backup” (Mac). You can also see when the backup is complete via clicking “Show Operations” in the dropdown on the right of Refresh at the top.